Showing posts with label sewing. Show all posts

Wednesday, June 15, 2011

Pretty dresses


I joined a sewing class last term and had lots of laughs with a lovely bunch of ladies. There's nothing better then spending time with a group of like minded people. This is the dress that I made for Sarah. Its got pleating in the front and ric rac accents on the sleeves and across the dress.

Sunday, August 30, 2009

Repurposing metal tins

FabricTinCover-P1010944

Inspiration from here and here I used a baby formula tin and I'm hoping to make a few more of these.

Monday, August 24, 2009

Fabric selection

I just completed the drawstring bag tutorial on the sewbunnybum website. The funnest thing in the universe, to me, is fabric selection - picking matching fabrics and selecting contrast colours as well.. its a challenge and there's so many different paths you can take - love it! What process do you go through? I used some pink Michael Miller (Dandy Damask?) and pink gingham with a light blue ric-rac splash of colour.

LittleBag2-P1010933

The bag is intended to keep a set of figurines in.

Tuesday, August 18, 2009

Sneezes and Mushrooms

I had some sewing time today and I made a tissue case (Look in list for tissue project). A simple little project and a really good one to get me going again. It is good fun to pick the fabrics to coordinate together!

TissueCase1-P1010881

TissueCase2-P1010876

I also embellished a fabric shopping bag. My daughter started using this bag a few days ago and it had a boring supermarket logo on the side.. so I've made it more kid friendly and hidden the logo away.
Bag-Mushroom-P1010882

Wednesday, August 12, 2009

There's a bear in there

Hello bloggy peeps! I have been inactive for a little while and we have a new little one in our family now. I will post pictures of the new bubs in another post.

For now, I really, really wanted to sew **something**, so I got some material out this morning and just kept pushing myself to go-go-go, no time for contemplation, just do! It means there was dodgy sewing, no pins and no measuring anything out. I used some patchwork squares that I had left over from another project, I tried to incorporate some ric-rac edging (not so good) and its just got some simple flannel backing. So, voila! A little teddy bear quilt for my dear daughter. I need to make a few more and hopefully she will stop nicking all the face washers in the house!

BearQuilt1-P1010789

With a bear in there:
BearQuilt2-P1010791

Friday, April 18, 2008

Doll's Basket/Bassinet Tutorial

IMG_1113

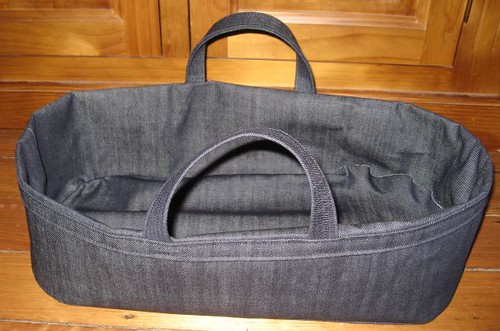
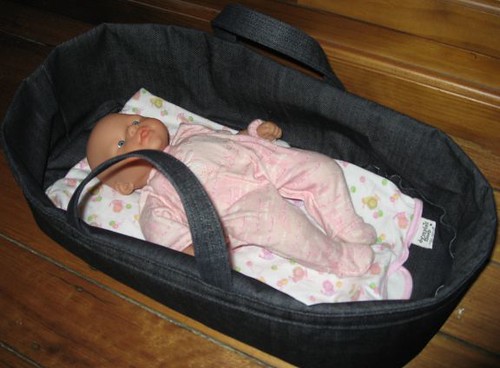
This doll's basket is very easy to make. I've used the pattern from an old Family Circle sewing book ("Family Circle Treasury of Dolls & Cuddly Toys"). The instructions weren't very clear and caused me to make a jumbled mess before I realised where I was going wrong. I've now re-written the instructions and taken lots of photos while making the basket and I hope someone might find it useful. If you do use it, please drop me a line and show me your basket!
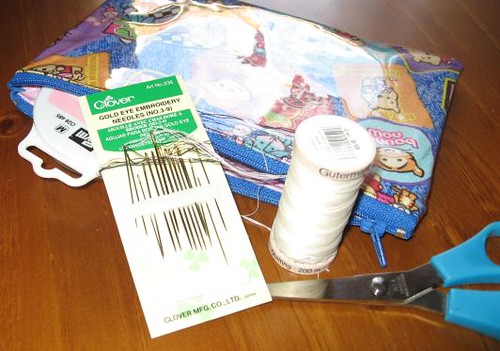
Materials:
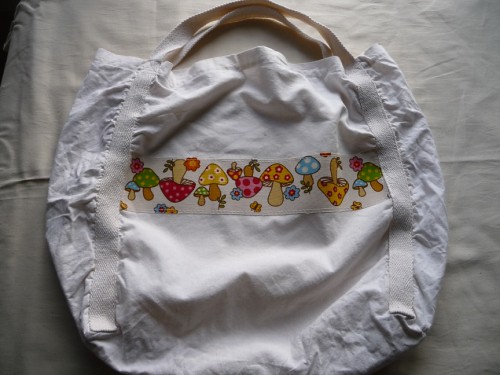
I used denim and the book recommends garbardine.

Cut 1, 136 X 30cm piece of material for basket sides & matching interfacing
Cut 1, 136 X 4.5cm piece of material for reinforcing strip
Cut 2, 30 X 10cm handles
Cut 2, 52 X 27cm rectangles of material to form the base of the basket. The material base will have a 1cm seam allowance bigger then the masonite/cardboard base. The corners need to be curved.
Cut 1, 50 X 25 rectangle of heavy cardboard or masonite to use as the base of the basket. You will need to round the edges.

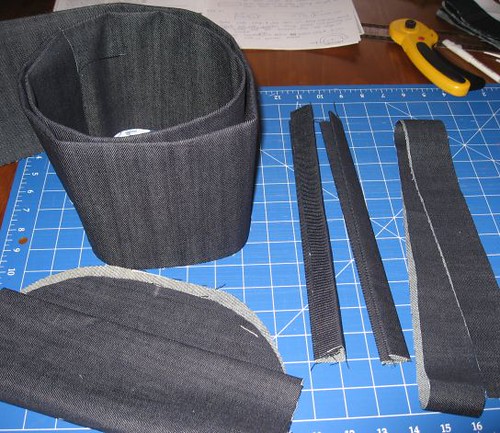
Step 1 - Cut out the basket pieces. Use heavy-weight interfacing on the basket panel as you will want the basket sides to be strong enough to stand up on their own.

Denim_1054

Step 2 - Fold the handles in half and then fold each edge into the middle to create a casing. Iron these edges. Sew along the length of each handle a number of times to reinforce them.

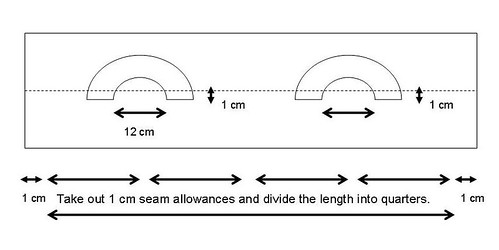
Step 3 - Fold the basket side in half and iron it to mark a line that we will work off for the rest of the tutorial. Unfold the basket side panel and lay it flat on your work area. Allow for a 1 cm seam line at each end of your length of fabric, then mark half and quarter markings along the length of the fabric.

Step 4 - Sew the handles 6 cm on either side of the quarter markings and 1 cm below the fold line. Reinforce the handle stitches as you see fit.

IMG_1094

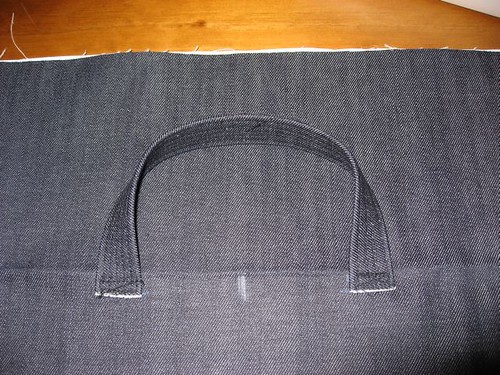
Step 5 - Take the reinforcing strip and fold it in 1 cm on either side. Lay the strip right sides facing onto the basket side and match the upper reinforcing fold line with the basket side fold line. Sew this edge to the basket so that it will then fold down and meet up with the basket side fold line (and hence the top of the basket edge when everything is folded down later on).

IMG_1098

Step 6 - Turn the reinforcing strip down and then sew the bottom edge of the reinforcing strip to the main basket.

IMG_1099

IMG_1101

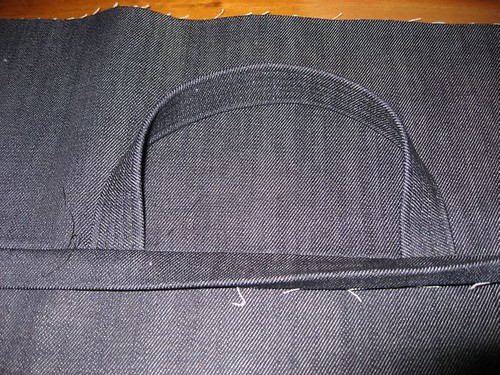
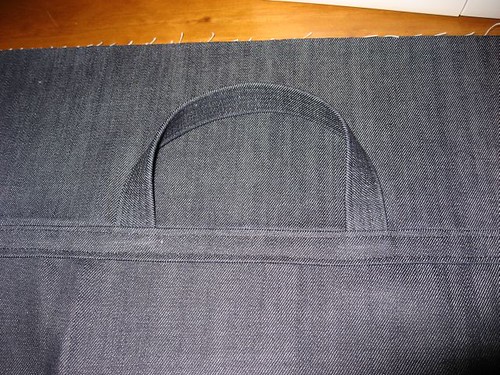
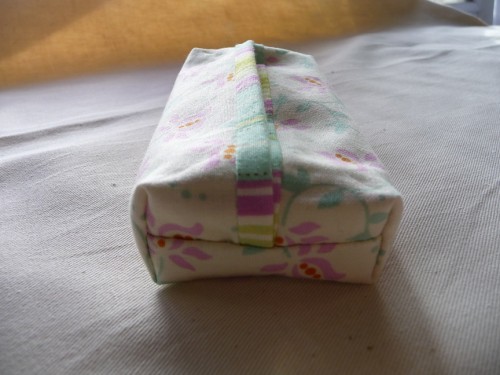
The unit should look as follows:

Basket layout

Step 7 - Pin the edges of the basket panel together to form a large circle. With right sides together, sew 1cm from the seam.

Basket layout2

IMG_1102

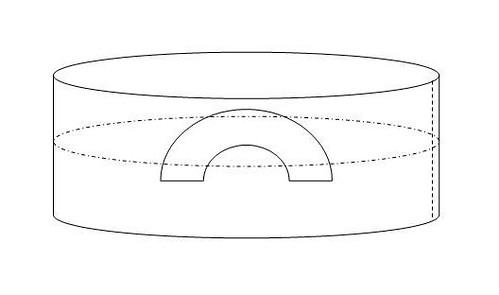
Step 8 - You will work with everything inside out for the next few steps. Open the basket panel and place upright on the table to create a circular shape. Take one of the basket bases and pin it to the bottom part of the basket panel (the handles will point to the top of the basket, so the other end is the bottom). I marked quarter marks around the basket sides and around the basket base to help me distribute the base evenly. Sew all the way around - right sides are facing. Use a 1cm seam allowance. This part will become the basket's "outer" wall and base.

IMG_1104

Step 9 - Turn the unit over and pin the other basket base to the top part of the basket wall. Only sew half way around this end. This part will become the basket's "inner" wall.

IMG_1105

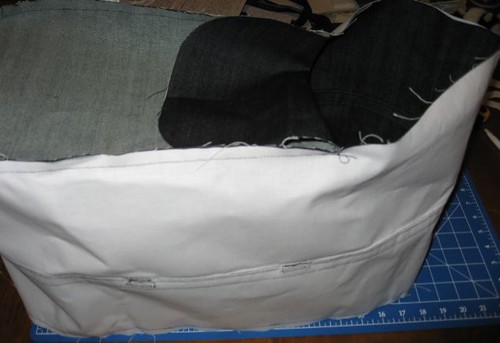
Step 10 - Turn the basket inside out by pulling the fabric through the hole you have left while sewing the base. Do you remember how we put a fold in the basket walls at the very beginning? Now you can use this fold to create the sides of the basket. You now have an outer and inner part to the basket.

IMG_1105

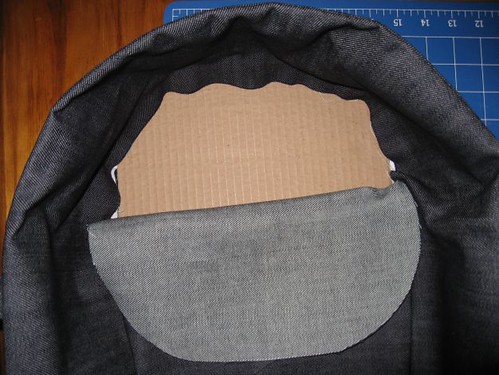
Step 11 - Insert your piece of cardboard or masonite into the base of the basket. Hand stitch the opening in the inside of the basket closed.

IMG_1107

Step 12 - Well done! You have finished your doll's basket!

IMG_1109

Busy Bee

OK, a bit of a catch up. There has been a birthday party - see pic. We managed to fit 9 people around our dining table which is the largest number of people we've ever had around it!

BirthdayCake_0877

We have been busy doing some painting. Our lounge and dining were a glorious shade of orange when we moved into the house and its taken us near on 2 years to get that colour painted out. Admittedly we've been pretty busy fumbling our way through Boo's first year! So this is our new lounge room. To go from a dark colour to a very light colour really did make the room feel twice as big afterwards. I've always thought it very cute when bloggers snap their work and find "little helpers" in the shot afterwards. Boo, right on cue, grabbed a toy I'd cleared away and zoomed into shot.

Redecoration1_0889

Here is a teaser for a project I am working on. I've used some very heavy-weight interfacing for this project and I am wondering if I need to go and buy some stronger sewing needles before I start sewing.

Denim_1054

I have another teaser for something special that I am doing tomorrow.

Activity1_0959

Thursday, March 27, 2008

Muscling in on the action

Here is part 2 of the dolls project. I finally got his face sewn on today and my niece helped me stuff him.

Dolls2_0802

I hereby present the dynamic duo:

Dolls1_0801